Have you ever heard of dry brushing? I’ve been doing it for the past two years to help reduce my keratosis pilaris (little white bumps on my arms) and it has made such a difference! I’ve been focusing on being more consistent with it and I can already tell a difference in my skin!
Dry Brushing 101
Dry brushing is a type of Ayurvedic medicine that has been around for centuries. It is said to have numerous health benefits, one of the most common being that it helps detox your body through lymphatic drainage. I actually first learned about it at a spa massage one time when the lady handed me a large wooden brush and said “Be sure to dry brush before we start your massage.” I was like dry brush? What is that? Haha but it is literally just what it sounds like, brushing your skin while dry.
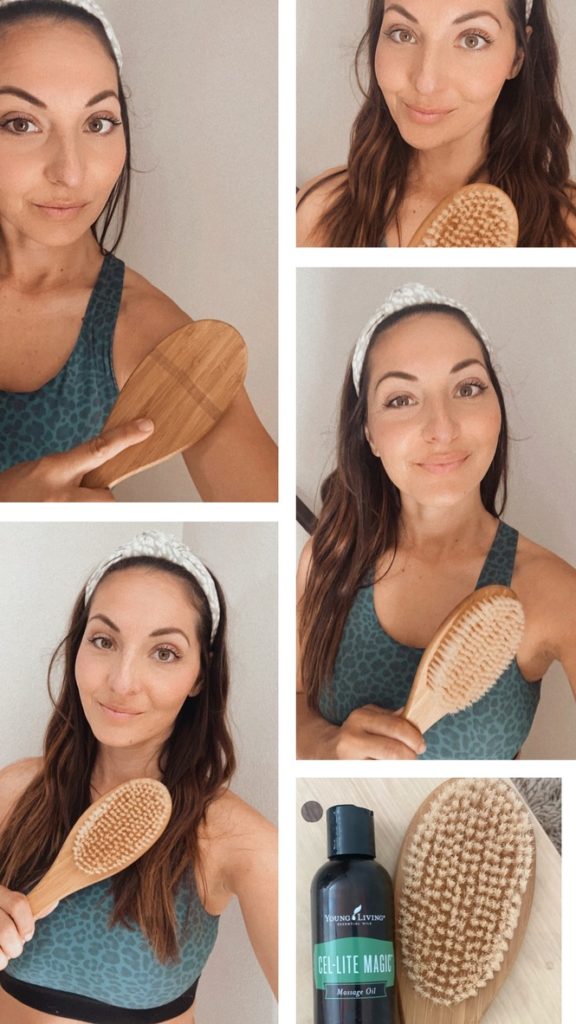
It’s super simple: You take a body brush and use it to gently massage your body in an upward motion.
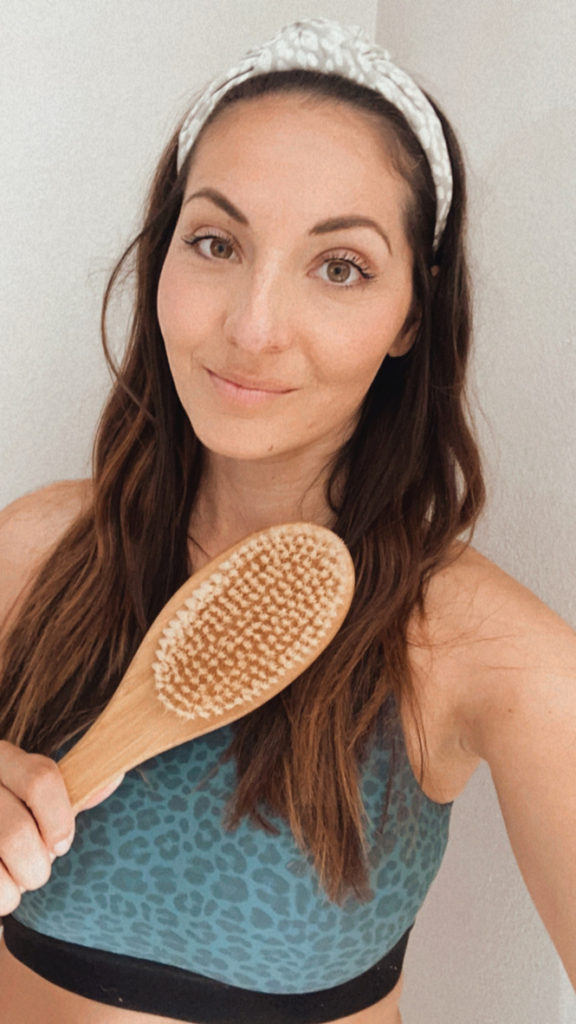
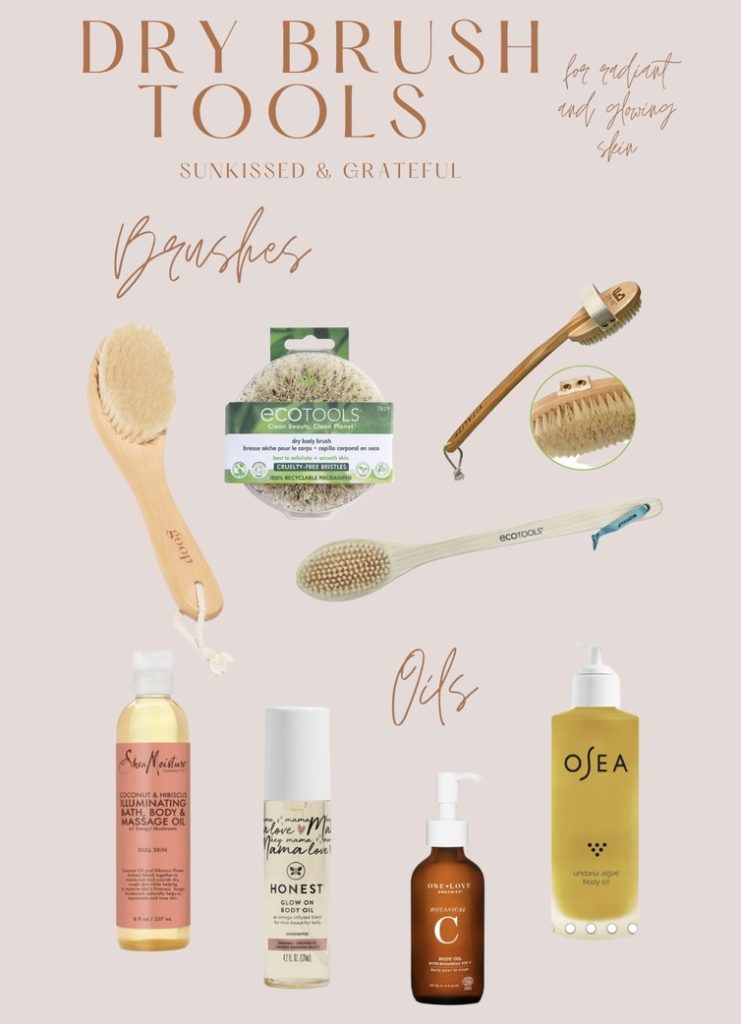
All you need is a wooden brush with natural semi-stiff bristles. I prefer using a bristle brush with a long handle to get those hard to reach areas, like your back, but you can also use a round brush with a handle to grip! You can literally get a dry brush from Target, Amazon or Whole Foods! They have them everywhere!
Benefits of Dry Brushing
There are many different benefits to dry brushing. Like I said before it originally was used primarily for lymphatic drainage. When you brush the skin without water, it helps stimulate the lymphatic drainage process, removing toxins and waste out of our systems.
Personally, I really love to dry brush to stimulate circulation and exfoliate. My skin feel so soft afterwards and it definitely has a glow. When you dry brush, you might notice your skin feels a little tingly and appears red. This is actually a result of increased circulation in our bodies, specifically where you have been dry brushing. Your body responds to the dry brushing by pushing more blood to those areas, thus improving circulation.
And of course, when you gently brush your body, you get the added benefit of removing all of the dead skin cells and build-up, leaving behind smoother skin with a glow! It also makes moisturizer go on smoother!
Additional benefits include:
- rejuvenates body and skin cells
- increases energy
- strengthens immune system by increasing the production of globulin
- promotes a sense of relaxation and calm
- helps to break down cellulite
- improves digestion
- boosts skin elasticity/ increasing collagen
- reduces ingrown hairs
Are you sold yet? I mean they had me on increasing energy and boosting collagen production! I’m all about aging gracefully so it’s definitely something I try to incorporate into my beauty routine at least 2-3 times a week!
How to Dry Brush
Dry brushing is super easy to do, but you still have to follow some steps to ensure you are getting the maximum benefits.
Here is what I typically do
- Get Naked: I usually dry brush in the morning before I take a shower. So I take off all my clothes, grab my brush and start the process. It typically takes me 3-5 minutes depending how many strokes I do in each spot. I also do it in the morning because I notice it does give me a little bit more energy! I think the increased circulation helps kick start my day!
- Make sure skin is completely dry.
- Remember the golden rule of dry brushing: long, motions that go in the direction of your heart.
- Keep a slightly firm pressure while you brush. You don’t want to brush too hard where you are getting little microcuts, but you do need to keep a gentle yet firm pressure.
- Start at the top of your feet, brushing upwards toward your lower leg, then knee and thigh. When you brush the back of your thigh, continue the stroke over your booty and up to your lower back. I do this in one continuous motion.
- For your stomach area, some people prefer to brush in a circular motion, but I like to continue with the long strokes! You can choose your preference here and do what feels best for you!
- And for the arms, you follow the same direction. Brush the back of your hands, move towards the forearm, and then around to the upper arm. Don’t forget the upper inner arms because you have a lot of lymph nodes there and want to be sure you treat that area!
- Now once you get to your chest and neck area, you will reverse the direction since you are above the heart. Also be extra gentle because this skin is pretty delicate. Start at the jawline and move down to your chest. Finish by going over your heart in a circular motion and you are complete! Voila!
It may seem complicated but it is really not. You just want to remember to keep a gentle, yet firm pressure and go towards the heart! If you want a visual, I found this cool graphic on Pinterest that will show you the directions!
For an added sensory experience, you can drop a few drops of your favorite essential oil onto the brush! I like peppermint, lavender and eucalyptus! It adds an extra tingle to the experience!
Post- Dry Brush: Hydrate!
After you complete your dry brushing, take a shower to rinse off all that dead skin! Your body will feel so invigorated and awake! A
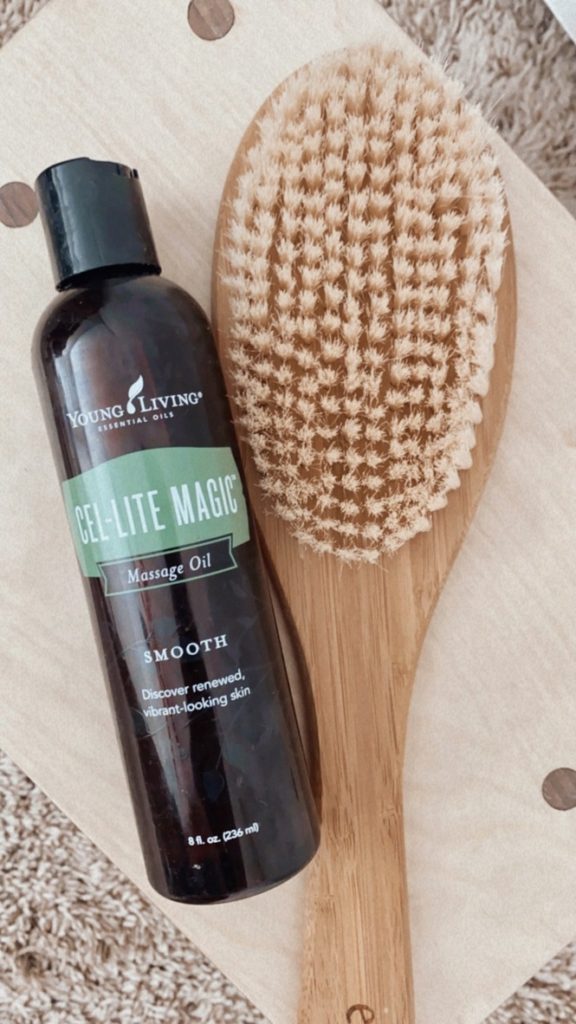
Also, make sure you hydrate your body. Both inside and out! You want to drink a lot of water, as well as put on some lotion or a body oil. I prefer a body oil because they are non-greasy, my skin soaks them up and I find that the scent lasts longer for me! My favorite body oils are One Love Organics Botanical Body Oil, Osea Algae Body Oil or Young Living Cell-Lite Magic Massage Oil. You can also use the Honest Co. Body Oil for a more budget-friendly option!
Shop the Post Here!
Let us know if you decide to try dry brushing! It’s been a game changer for me! I’m obsessed with the smooth, radiant skin it leaves behind!
Also, be sure you read Melissa’s latest post about her favorite home workouts and join in with us reading 20 books to celebrate Valentine’s Day!
Thanks for following along!
P.S. Just a disclaimer, if you click on the links above and purchase within 24 hours, we do make a small amount of commission! Just wanted to be totally transparent! xoxox
xoxox,
Kari



Leave a Reply